Creating a Shopify Image Gallery That Stands Out: Steps and Expert Tips
A guide to creating a great first impression with your Shopify image gallery to build customer trust.
Published November 14, 2023

AI Summary
High-quality product images play a role in boosting conversions in e-commerce. Studies have found that images are highly influential in shopping behavior and attitude.
These images not only enhance the perceived value of a product but also build trust and credibility with potential customers. In the following sections, we explore how to create a Shopify image gallery that stands out and converts visitors into customers.
» Need an app to edit your Shopify images? Discover our All-In-One Image Master app review.
Meet the Expert
Arjel Vajvoda, Head of Product at Motomtech, leverages her extensive experience in customer support to craft user-focused SaaS products with innovative documentation solutions.
How to Create a Shopify Image Gallery
Step 1. Optimize your images
High-quality, appealing images enhance user experience and credibility. For an effective e-commerce image gallery, consider the following:
- Quality: Use high-resolution, clear, and visually appealing images.
- Focus: Showcase product details, features, and benefits through various angles and lifestyle shots.
- Compression: Optimize file sizes for faster website loading using compression tools or plugins.
- Mobile optimization: Ensure images are responsive and tailored for different screen sizes.
- Thumbnails: Use eye-catching thumbnails that accurately represent the image content.
- A/B testing: Test different image variations, placements, and sizes to identify what resonates with your audience. Use sample data for A/B testing if you don’t have store data.
- Image editing: Use tools like All-In-One Image Master app for image editing and optimization.
Step 2. Plan your gallery
Identify your gallery’s purpose (e.g., product showcase) and select a style and theme that aligns with your brand. Decide on the layout and number of images to display for a cohesive brand representation.
Step 3: Create the image gallery on Shopify
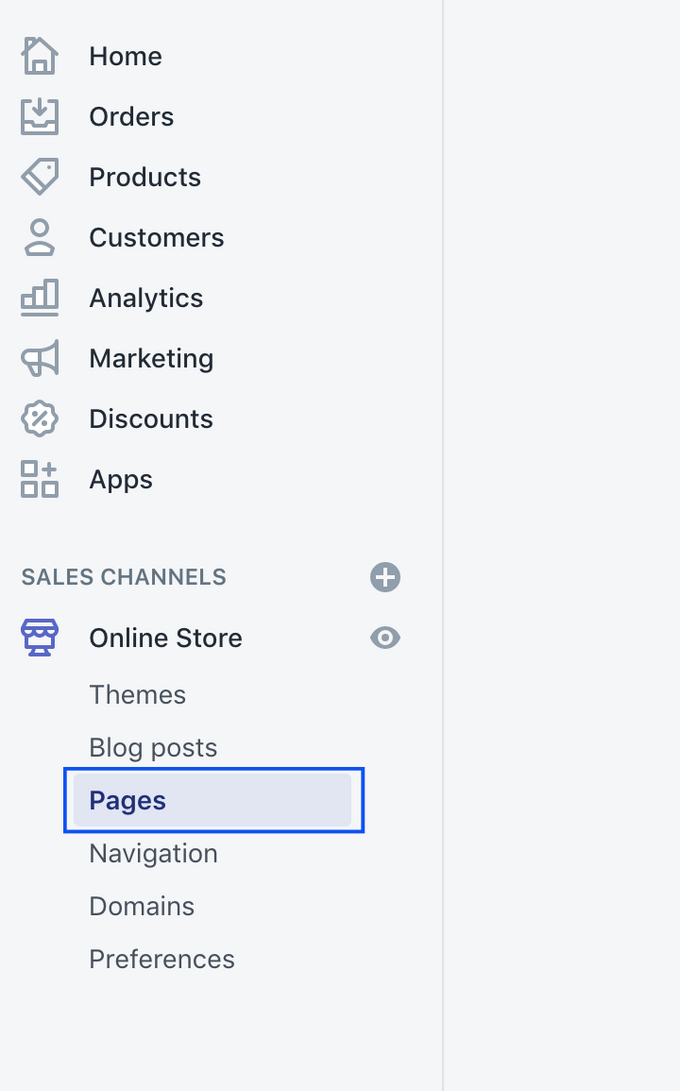
- Log in to your Shopify admin panel. From the sidebar, select Online Store.
- Depending on where you want to add the gallery, click either Pages or Products.
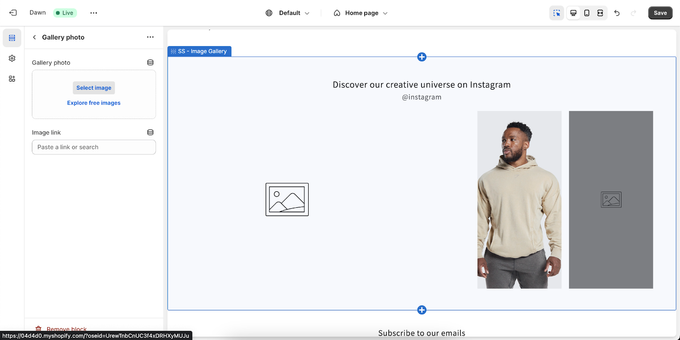
- Click on the Add section or Add block (depending on your theme) where you want your gallery.
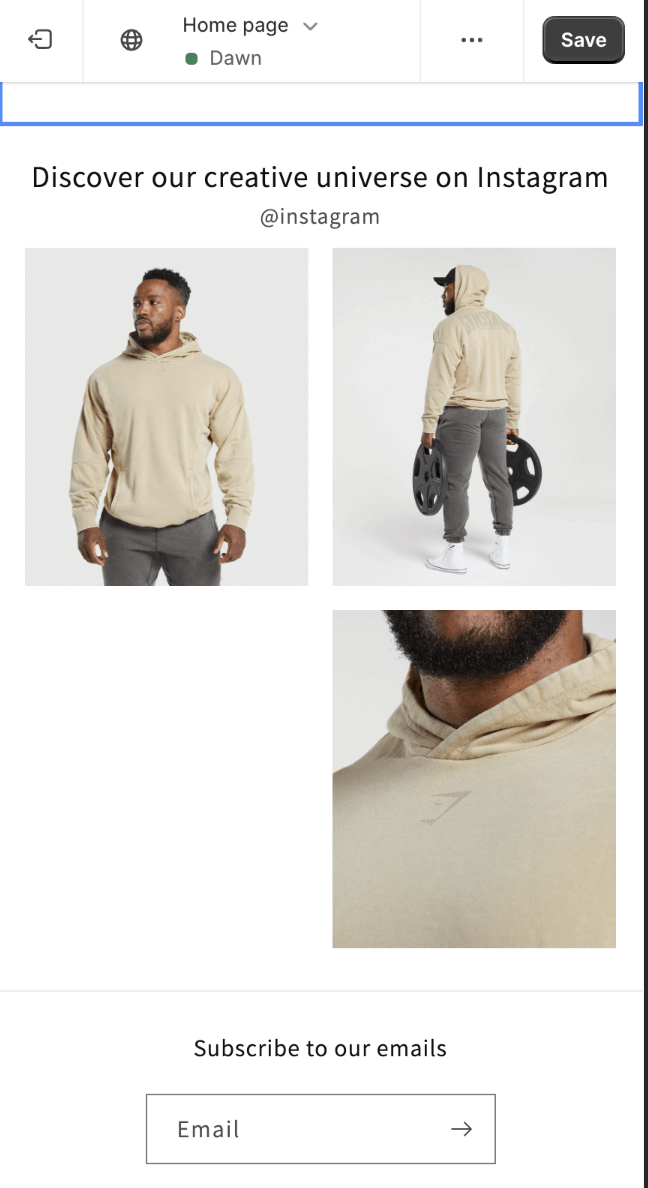
- Choose an image gallery option. Most Shopify themes have a built-in feature for image galleries. Alternatively, you can add a gallery by customizing a rich text section with images.
Step 4: Customize the gallery
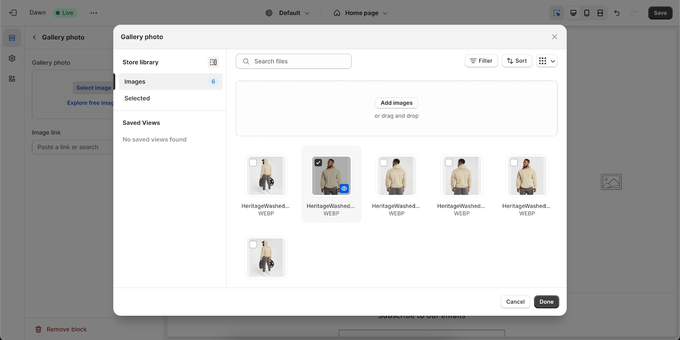
- Upload your prepared images to the gallery section.
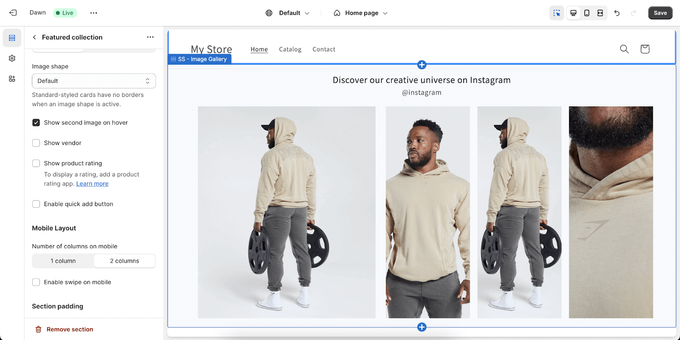
- Arrange the images in the order you prefer.
- Customize the look and feel using the theme's settings (size of images, spacing, rows, etc.). You can also add interactive features if available, like zoom on hover, lightbox, or slideshows.
Step 5: Test the gallery
View your gallery on different devices to ensure responsiveness. Check the loading times and optimize further if necessary.
Then navigate through the gallery as a user would and refine the experience.
Step 6: Publish and optimize
Once you’re satisfied with the gallery, save or publish your changes. Monitor the performance of your gallery in terms of engagement and loading times. In addition, use analytics to understand how users interact with your gallery and make adjustments based on this data.
Expert tips for your Shopify Image Gallery
Create a strong brand identity with themes and images
Use Shopify’s themes, such as Impulse, Pipeline, and Motion, to create engaging image galleries. Customize the layout, color schemes, and typography, and add high-quality photos to enhance your brand’s identity.
Keep a consistent aesthetic in your gallery for a visually pleasing shopping experience. Don’t forget to include branding elements like logos or watermarks for a unique touch.
Optimize your image gallery for mobile responsiveness
Ensure your image gallery is optimized for speed and mobile responsiveness. Slow-loading pages can deter potential customers, impacting your business negatively. Cater to the growing number of mobile shoppers by enhancing user experience across various devices. Here’s how:
- Image format: Use the correct image format.
- Compression: Compress images without compromising quality.
- Lazy loading: Implement lazy loading to load images as visitors scroll.
- CDN: Employ a Content Delivery Network (CDN) to deliver images quickly from diverse servers.
Design your gallery layout with a mobile-first approach to ensure a seamless experience on smaller screens. This is key as 72.9% of all online sales came through the mobile channel in 2021, indicating that most purchases happen on mobile devices.
» Looking for a comprehensive image guide? Here's how to optimize your product images.
Optimize for Search Engine Optimization (SEO)
An image gallery doesn't stand out if Google can't find it. Make sure that you apply SEO tactics to improve visibility in search results. Use descriptive file names and alt text with relevant keywords for better search engine understanding.
Create an image sitemap with details like URL, title, and caption for efficient indexing. Use Schema Markup like “ImageObject” or “Product” for additional context. These practices not only improve online visibility, but attract more visitors, and drive sales.
» Improve your Shopify's store with the best SEO apps.
The Continuous Journey of Image Optimization
Prioritize image optimization as an ongoing process rather than a one-time setup. You should also keep in mind the visual storytelling of your brand, ensuring that the quality and style of the images remain on-brand and appealing to your audience. Continually improve the quality and relevance of your images to stand out.
»Want to automate your product images' optimization? The All-In-One Image Master app is for you.


